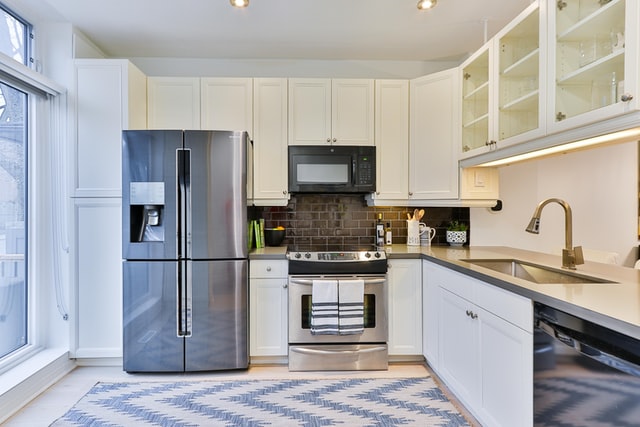
The refrigerator is always running. It doesn’t stop. Because of this, it is key to know how it functions and how to properly change parts when something goes wrong. In this article, we will talk about the 7 best tips you can use when changing parts on a refrigerator. Let’s get into it.
1) Dealing With a Faulty Refrigerator Door
If you notice that the refrigerator compressor is always running, there is a problem. This leads to a massive waste of energy and higher electricity bills. Most commonly, this is a result of a faulty door. The most noticeable factor would be whether the fridge gasket is cracked or somehow damaged. This can lead to major problems. Thankfully, you can easily verify whether this problem is real or not. Just put a dollar bill between the door and the fridge gasket. Close the door and see what happens. If you feel resistance when pulling the bill out, it is because the gasket is working as intended. If the bill just falls out or you easily remove it, then you have a problem. This method should be tried in several locations around the gasket just to make sure that everything is working as intended.
2) Dealing With the Door Switch
On the door jamb, there is a small button that you can press. This button is responsible for the light inside the fridge. If this switch is malfunctioning, the light will stay turned on causing the fridge to get cooling problems. Which can really be problematic down the road. A simple diagnosis that you can do is to check whether the light has been burned out. If it isn’t, then depress the push button that is located on the door.
3) Ice Maker Problems
The most common problem that can happen with an ice maker is when it is producing only tiny cubes of ice. This is a result of the water supply being partially or completely blocked.
In order to fix it, you should start by removing all of the screws, then remove the wiring harness that is holding the ice maker so that you can reach the water inlet tube. Afterward, melt the ice until the water stops dripping.
And here’s a pro tip: the saddle valve that connects the ice maker to the water supply in the house, and the needle hole located in the pipe can be clogged. Once you find the clog, it is very easy to fix. You just need to turn it clockwise in order to unblock it.
Another possible solution would be to replace the inlet valve. If you look at the back of the fridge, you will find a small electric inlet valve. Before replacing the valve, you should make sure that water is flowing to it. Turn off the water that is going through the saddle valve and disconnect the inlet valve tube for supply. This can all be done by removing the screws from the valve, then unplugging the wiring and unscrewing the water line nuts.
4) Diagnosing a Refrigerator Circuit Board
In the case that the fridge isn’t keeping the food cold, you will need to act. This problem usually arises due to a damaged refrigerator circuit. Before you consider calling in an expert you can try making a home diagnosis.
First, unplug the fridge and remove any metal plates or access panels on the back. Now find the circuit board. After you find it, try to see whether you can spot any burn marks. If they are there, replace the old circuit with a new one. You should move all of the press-on connectors to be on top of the fresh new board. Press the connectors onto the header pins until they are firmly attached. Afterward, find the largest relay on the board and plug it in the refrigerator. If it happens that the fridge starts, you need to get yourself a new circuit board. Usually, Samsung fridge parts can last a long time and are considered great replacements.
5) Always Make Sure That the Temperature is Just Right
In order to maintain efficient cooling and not endanger some of the fridge parts, you should always maintain a stable temperature inside of the fridge. Set the refrigerator’s temperature to 4°C, while the temperature of the freezer should always remain below 0°C. If you store chemicals and meat, it should be set even lower. Then it should be permanently at around -19°C. If your specific fridge doesn’t allow you to set the exact temperature, then you should adjust the scale to always be set to medium or low. If you feel uncomfortable doing this without prior knowledge, look in the manual for tips.
6) Avoid Blocking the Vents Inside of the Fridge
You should always maintain enough clearance between the vents of the fridge and the items that are stored inside of it. Why worry about parts breaking down when you can maintain it properly so that it doesn’t happen in the first place? By doing this, you effectively cool the air and keep it at a stable temperature. If the vents become blocked, they lead to an environment inside of the fridge that will force the fridge to work harder in order to do its job.
7) Consider the Floor
When you are replacing a walk-in fridge, you should keep in mind the traffic that will be there. This is especially important if you use heavy carts. Choose a floor that can handle the heavy loads that will be crossing constantly. Sometimes, it might be necessary to get a structural or reinforced floor. And in some cases, even an exterior ramp might be necessary.
That would be all for today. Hopefully, we have helped you save some money by not having to call a mechanic and instead fixing the problem the old-fashioned way – yourself. Till next time!


